As the days lengthen and the frost retreats, gardeners across the world eagerly anticipate the arrival of spring. For many, this season marks the beginning of a new growing cycle—a time to prepare seedling trays and nurture the tiny plants that will eventually flourish into a thriving garden. Whether you’re a seasoned gardener or a novice with a passion for greenery, mastering the art of preparing seedling trays is essential for success. In this guide, we’ll explore step-by-step instructions to ensure your seedlings get the best start possible.
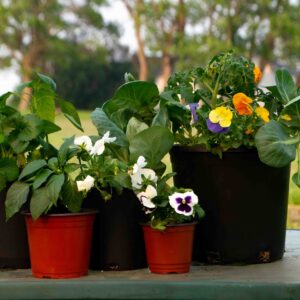
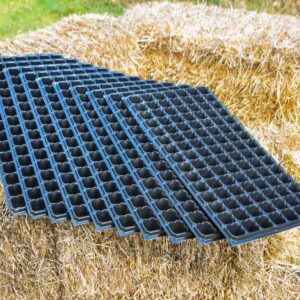
Choosing the Right Seedling Trays: Before diving into the preparation process, it’s crucial to select the appropriate seedling trays. These trays come in various sizes, materials, and configurations. Opt for trays with adequate drainage holes to prevent waterlogging, and consider the size of your seeds and the eventual growth of your plants when choosing the cell size. Additionally, reusable trays made from materials like plastic or biodegradable options are environmentally friendly choices.
Materials Needed:
Seedling trays with drainage holes
Seed starting mix or potting soil
Seeds
Watering can or spray bottle
Labels or markers
Transparent plastic cover or plastic wrap (optional)
Warm, well-lit area for germination
Step-by-Step Guide to Prepare Seedling Trays:
Fill Trays with Seed Starting Mix: Begin by filling each cell of the seedling tray with a high-quality seed starting mix or potting soil. Avoid using garden soil, as it may contain pests or diseases that can harm delicate seedlings.
Moisten the Soil: Before sowing seeds, lightly moisten the soil in each cell. Ensure that the soil is evenly damp but not waterlogged, as excessive moisture can lead to seed rot.
Sow Seeds: Carefully place seeds in the center of each cell according to the planting depth specified on the seed packet. Some seeds may require covering with a thin layer of soil, while others can be left exposed.
Label Each Tray: To avoid confusion later on, label each tray with the type of plant and the date of sowing. This will help you keep track of your seedlings’ progress and ensure proper care.
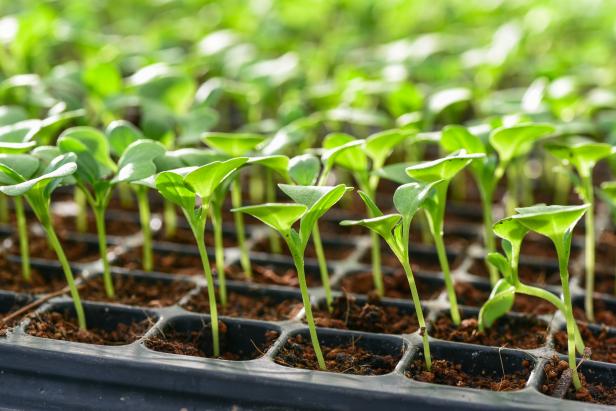
Provide Adequate Light and Warmth: Place the seedling trays in a warm, well-lit area to encourage germination. Consider using a grow light or placing trays near a south-facing window to provide sufficient light for young seedlings.
Maintain Moisture Levels: Regularly check the moisture level of the soil in your seedling trays. Use a watering can or spray bottle to gently water the trays as needed, keeping the soil consistently moist but not saturated.
Consider Covering with Plastic: To create a greenhouse-like environment and retain moisture, you may choose to cover the seedling trays with a transparent plastic cover or plastic wrap. Remove the cover once seeds have germinated to prevent excessive humidity buildup.
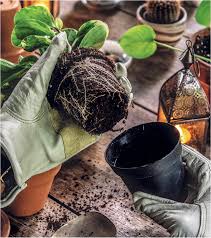
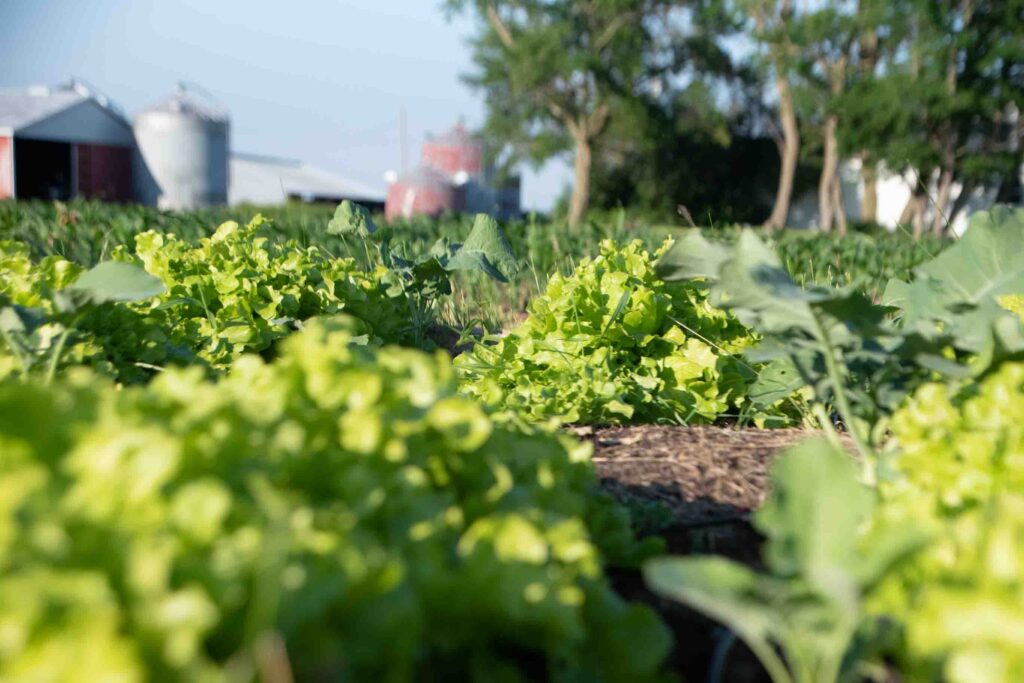
Monitor Growth and Transplant Seedlings: As your seedlings grow, continue to monitor their progress and adjust watering and light levels as needed. Once the seedlings have developed several sets of true leaves, they are ready to be transplanted into larger containers or directly into the garden.
Preparing seedling trays is a vital step in the journey towards a successful garden. By following these simple steps and providing proper care and attention to your seedlings, you’ll set the stage for a bountiful harvest. So, roll up your sleeves, gather your supplies, and get ready to watch your garden dreams take root and flourish! Happy gardening!
Stay Connected
Receive newsletters with tips and stay up to date with how we can help Canadians grow!