One of the joys of gardening lies in nurturing plants from tiny seeds into flourishing greenery. However, as plants grow, their needs evolve, requiring adjustments to ensure continued health and development. One critical transition in a plant’s life cycle is moving it from seedling trays to larger pots or nursery pots. Knowing when and how to make this transition can significantly impact the plant’s growth and overall well-being.
Understanding the Signs:
Before diving into the repotting process, it’s essential to recognize the signs indicating that a plant has outgrown its current container. Here are a few key indicators to watch for:
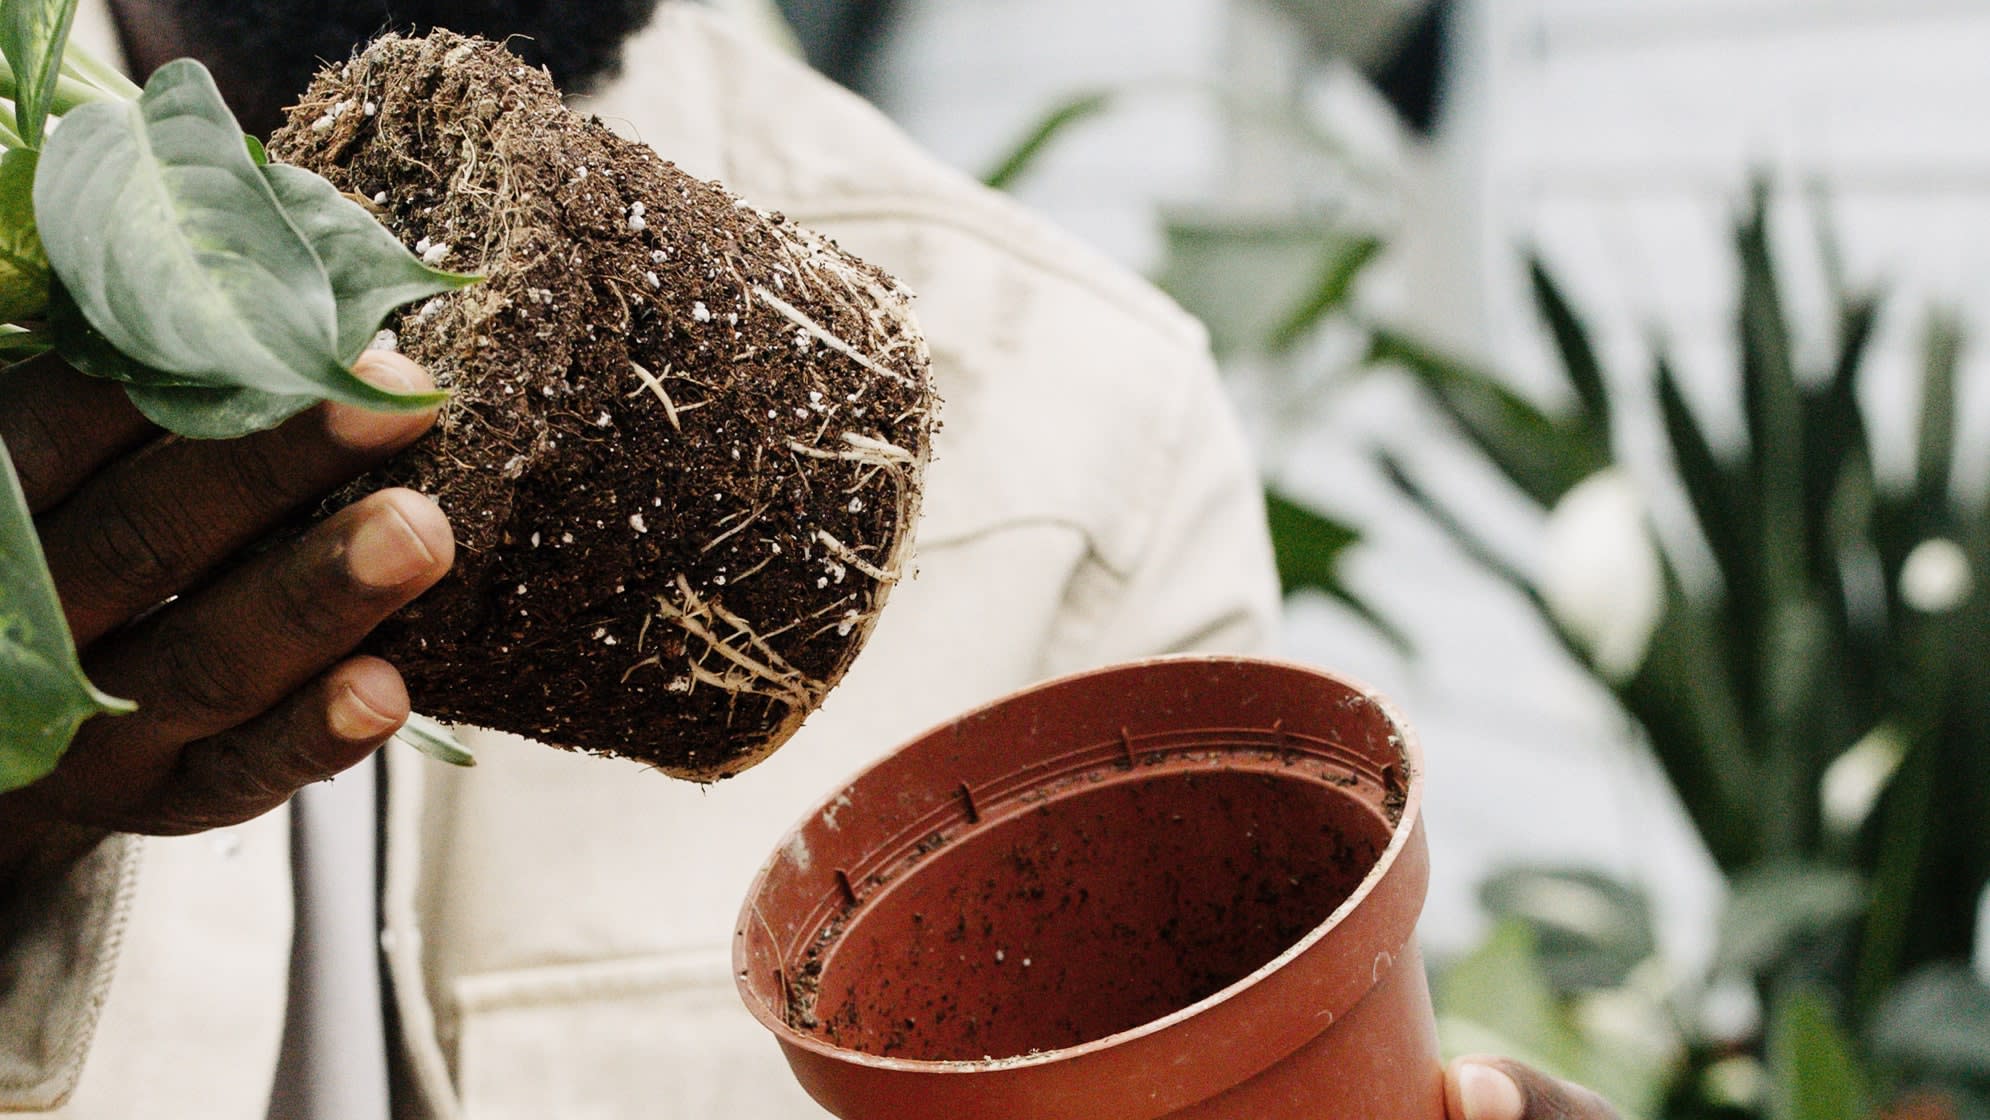
- Root Crowding: Visible roots protruding from drainage holes or circling the bottom of the container suggest that the plant has outgrown its current space.
- Stunted Growth: If the plant’s growth has slowed, despite adequate light, water, and nutrients, it may be struggling due to limited root space.
- Watering Difficulties: Plants requiring frequent watering or showing signs of water stress, such as wilting or yellowing leaves, might be suffering from cramped roots unable to absorb water efficiently.
Timing the Transition:
While it’s tempting to transplant seedlings as soon as they emerge from the soil, premature repotting can cause unnecessary stress. Instead, aim to transplant when the seedlings have developed a robust root system and several sets of true leaves. Typically, this occurs when the seedlings are 2 to 4 inches tall, depending on the plant species.
Steps to Repotting:
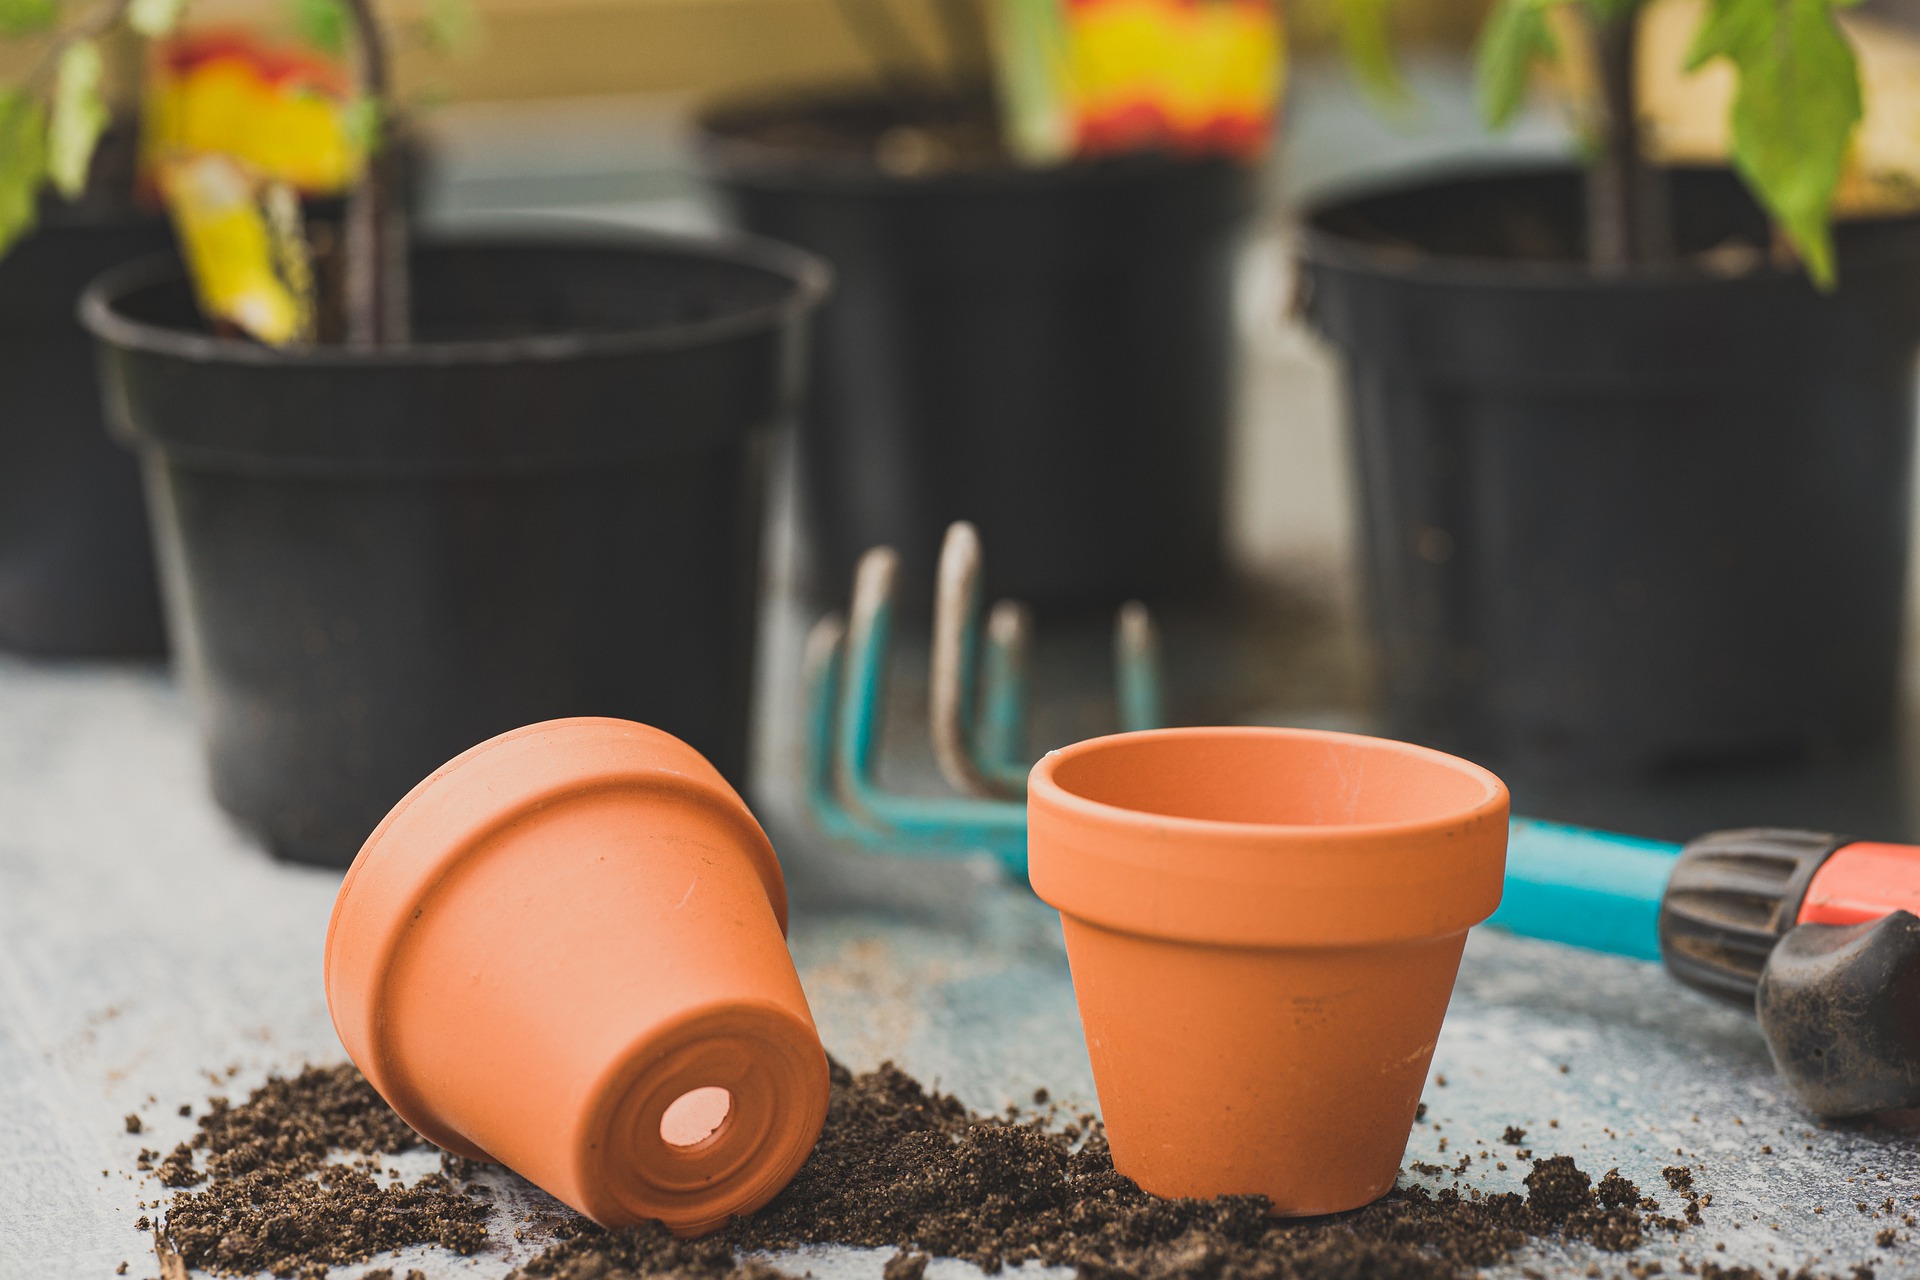
- Prepare the New Container: Select a nursery pot or larger container with adequate drainage holes and fill it with a well-draining potting mix appropriate for the plant species.
- Gently Remove the Seedling: Carefully loosen the soil around the seedling’s roots, avoiding damage to the delicate roots.
- Transplant: Place the seedling in the center of the new container and fill in the remaining space with fresh potting mix, ensuring the plant sits at the same depth as before.
- Water Thoroughly: After repotting, water the plant thoroughly to settle the soil and hydrate the roots.
- Provide Proper Care: Place the newly potted plant in an appropriate environment with adequate light, temperature, and humidity for its specific needs.
Benefits of Repotting:
- Enhanced Growth: With more space for root development, plants can access water and nutrients more effectively, promoting healthier growth.
- Reduced Risk of Root-Bound Stress: Repotting prevents roots from becoming bound or tangled, which can restrict growth and lead to nutrient deficiencies.
- Improved Stability: Larger pots provide stability, preventing top-heavy plants from toppling over as they grow taller.
- Increased Lifespan: Properly repotting plants encourages longevity by supporting vigorous growth and minimizing stress-induced setbacks.
Knowing when to move plants from seedling trays to nursery pots or larger containers is crucial for maintaining their health and vitality. By recognizing the signs of overcrowding and timing the transition appropriately, gardeners can ensure their plants have ample space to thrive. With careful repotting and ongoing care, these green companions will continue to delight and beautify their surroundings for years to come.